Hokkaido brioche

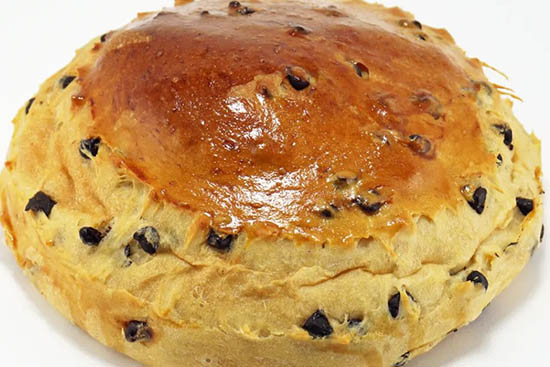
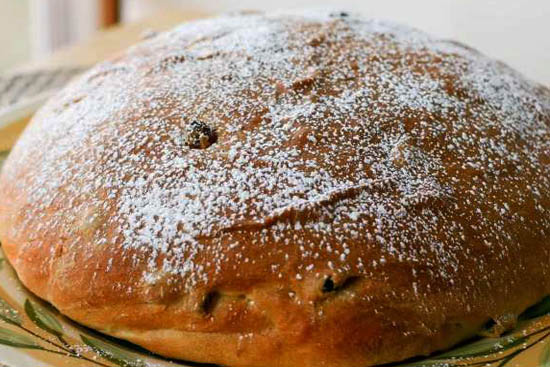
Hokkaido milk bread is quite simply the fluffiest, softest, lightest, most pillowy cloud of deliciousness thanks to a simple technique involving a roux starter known as tangzhong.
Ingredients
-
Tangzhong
• 20 g (3/4 oz) strong white bread flour
• 75ml (6 tbsp) water
• 1 tbsp whole milk
Dough
• 350 g (scant 3 cups) strong white bread flour
• 7 g (2 tsp) fast action yeast
• 1 tsp salt
• 60 g (scant 1/3 cup) sugar
• 1 tbsp milk powder
• 1 egg
• 120 ml (1/2 cup whole milk
• 30 g (2 tbsp) softened butter
• 1 egg beaten with a splash of milk, to glaze
Directions
To make the tangzhong:
Combine all of the ingredients in a small saucepan, and whisk until no lumps remain.
Place the saucepan over low heat, and cook the mixture, whisking constantly, until thick and the whisk leaves lines on the bottom of the pan, about 3 to 5 minutes.
Transfer the tangzhong to a small mixing bowl or measuring cup and let it cool to room temperature.
To make the dough
1. Place the flour in a large bowl (or the bowl of your stand mixer, fitted with a dough hook) and add the yeast to one side, the salt, sugar and milk powder to the other (if the salt is added on top of the yeast it can kill it), stir to combine.
2. Whisk together the cooled tangzhong, egg and milk and add it to the dry ingredients. Mix everything together until it forms a soft, shaggy dough. If you are kneading by hand, turn the dough out onto a worktop and knead for 5-10 minutes until it starts to feel smooth and a little less sticky (it will still be very sticky), add no more than a spoonful of flour while you are kneading, the dough is meant to be sticky! The best way to knead a wet dough by hand is to stretch it up away from the worktop (it will stick), then slap it back down, make sure that you pull from a different section each time and keep a dough scraper handy. If you are using a stand mixer, mix for 5 minutes or so until the dough is smooth.
3. Add the butter and mix until it is fully incorporated, continue to knead until the dough is very elastic and begins to come away from the worktop (or sides of the stand mixer bowl) cleanly. It should pass the windowpane test - stretch the dough with your hands, you should be able to stretch it to a very thin, almost transparent membrane without it tearing. This can take up to 20 minutes of kneading, especially by hand.
4. Place the dough in a lightly oiled bowl and cover with clingfilm, leave to rise for 1-2 hours until well doubled in size. Alternatively, place it in the fridge to rise overnight. If you refrigerate it, the following day let it come up to room temperature for about half an hour before continuing.
5. Line an 8.5x4.5in (or thereabouts) loaf tin with greaseproof paper. Once the dough has risen, punch it down and fold it in on itself a couple of times. Turn out onto a lightly floured surface, divide it in to four equal pieces and roll each one into a ball.
6. Roll each ball out into a long oval, fold one third of the oval over the middle (from the side, not the top), then the other third over the top to form a long, narrow packet. Roll over the seam to flatten it, then roll it up from one end to make a fat sausage. Repeat with the other balls of dough then arrange them in the loaf tin, seam side down.
7. Loosely cover with oiled clingfilm and leave to rise until at least doubled in size, this can take 1-2 hours (mine took nearly 2). If you press the dough gently with a finger the indentation should spring back slowly but remain visible. If it springs back quickly it needs to proof for a little longer. Preheat the oven while the dough is rising to 180C/350F/gas mark 4.
8. Brush the top of the dough with some of the beaten egg then bake on the lower middle shelf of the oven for 30-40 minutes until well risen and the bread sounds hollow when tapped on the bottom, the internal temperature should reach 94C/200F on a probe thermometer. Cover the bread with foil partway through baking if it starts to get too dark.
9. Transfer to a wire rack and leave to cool completely before slicing.
